


I choose this recipe because I´m a big fan of Alice in wonderland and I imagine myself being there in that beautiful paradise.
Héctor Arauzo González, 4º Secundaria
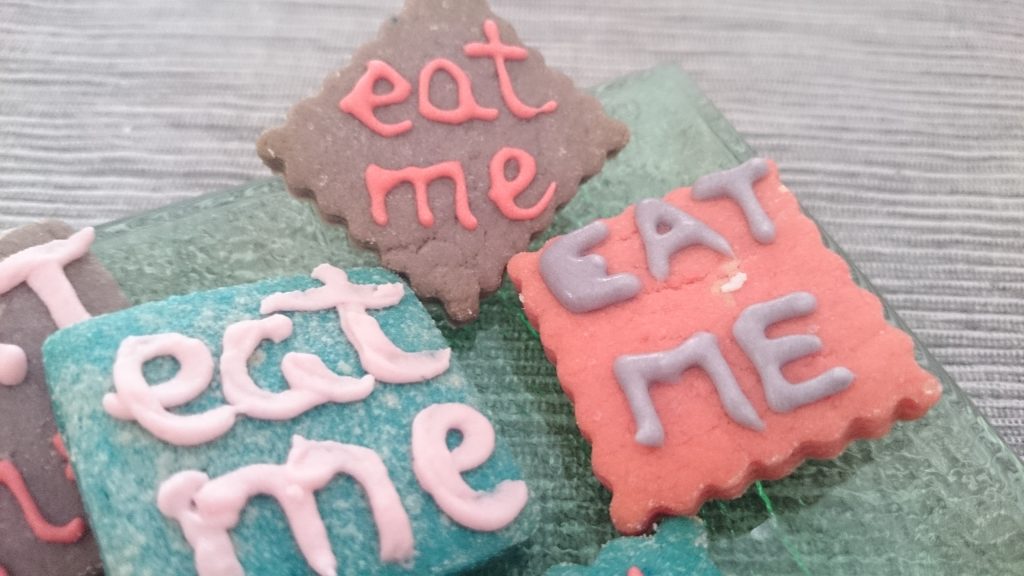
Alice in Wonderland Cookies
Ingredients
- Butter: 225gr
- Sugar: 3/4 cup
- Glasser sugar: 1/2 cup
- Eggs: 2 (size L)
- Vanilla: 2 tsp
- Flour: 2 and 1/2 cup
- Yeast: 1/2 tsp
- Fine salt: 1/2 tsp
Elaboration
- We start by beating the butter with the two types of sugar, until it becomes a smooth cream. We add the eggs one by one, waiting for the first to be well integrated before adding the second. We also add the vanilla and beat well.
- Now comes my favorite part, getting my hands dirty! In a bowl we sift the flour, yeast and salt, and add it little by little to our previous mixture. You can do it with a spatula or even in the mixer, but I like to get stuck with the dough more.
- We mix until the flour is well integrated, and we let it rest for 1 hour in the refrigerator.
- After this hour, we take it out to knead and cut. Remember to put flour all over the work surface, and on the rolling pin if necessary too!
I leave these with a thickness of 4mm, but there each one to taste of course 😉
- We put them on the tray, and put them in the refrigerator for 30 more minutes. This would be a good time to turn the oven on to heat up, to 170C with heat up and down.
- After 30 minutes, we put the cookies in the oven for 12 minutes. It also depends a little on each oven, but when you see that they start to brown on the bottom, they are done!
- When removing them, it is very important that you do not remove them immediately from the tray, let them rest for 10 minutes before passing them on a wire rack, because when they come out they will be soft and will break.
And we start with the decoration!
For the glaze we will need:
- Glasser sugar: 500gr
- Egg whites: 2
- Lemon juice: 3 teaspoons
- We put everything in a bowl and beat for 5 minutes until it is thick, but manageable, more liquid than toothpaste.
- We separate the mixture into as many bowls as the colors we want to use. And we add the coloring little by little, until we get the desired color. A tip for colors that are a mixture of other colors, it is better to first mix the dyes separately until you get the color, and then add it from that mixture to the frosting.
- To draw the letters I used a sleeve with a size 1 nozzle, very very fine, and cones of greaseproof paper with a nozzle thickness of approximately 3mm.